Snatching Victory from the Claws of Defeat
Got in my second and last league match tonight at the 2000 pt level.It was my second battle using my eldar allies, and man was I glad to have them today, but more on that later.
First, the army lists. I ran the same list I ran vs the Ultra Marines in the previous report consisting of the following:
 Total Roster Cost: 1996
HQ: Commander Shadowsun (4#, 175 pts)
1 Commander Shadowsun, 175 pts
Heavy Support: Broadside Battlesuit (4#, 263 pts)
1 Broadside Battlesuit, 98 pts = (base cost 70 + Hard-wired Blacksun Filter 3 + Hard-wired Multi-tracker 5 + Hard-wired Target Lock 5 + Targeting Array 10 + Team Leader 5)
1 Broadside Battlesuit, 75 pts = (base cost 70 + Multi-Tracker 5)
1 Broadside Battlesuit, 75 pts = (base cost 70 + Multi-Tracker 5)
1 Shield Drone, 15 pts
Heavy Support: Broadside Battlesuit (3#, 188 pts)
1 Broadside Battlesuit, 98 pts = (base cost 70 + Hard-wired Blacksun Filter 3 + Hard-wired Multi-tracker 5 + Hard-wired Target Lock 5 + Targeting Array 10 + Team Leader 5)
1 Broadside Battlesuit, 75 pts = (base cost 70 + Multi-Tracker 5)
1 Shield Drone, 15 pts
Heavy Support: Broadside Battlesuit (3#, 188 pts)
1 Broadside Battlesuit, 98 pts = (base cost 70 + Hard-wired Blacksun Filter 3 + Hard-wired Multi-tracker 5 + Hard-wired Target Lock 5 + Targeting Array 10 + Team Leader 5)
1 Broadside Battlesuit, 75 pts = (base cost 70 + Multi-Tracker 5)
1 Shield Drone, 15 pts
Elite: Crisis Battlesuit (4#, 147 pts)
1 Crisis Battlesuit, 51 pts = (base cost 25 + Hard-wired Blacksun Filter 3 + Missile Pod 12 + Twin Linked Flamer 6 + Team Leader 5)
1 Gun Drone, 10 pts
1 Crisis Battlesuit, 43 pts = (base cost 25 + Missile Pod 12 + Twin Linked Flamer 6)
1 Crisis Battlesuit, 43 pts = (base cost 25 + Missile Pod 12 + Twin Linked Flamer 6)
Elite: Crisis Battlesuit (4#, 147 pts)
1 Crisis Battlesuit, 51 pts = (base cost 25 + Hard-wired Blacksun Filter 3 + Missile Pod 12 + Twin Linked Flamer 6 + Team Leader 5)
1 Gun Drone, 10 pts
1 Crisis Battlesuit, 43 pts = (base cost 25 + Missile Pod 12 + Twin Linked Flamer 6)
1 Crisis Battlesuit, 43 pts = (base cost 25 + Missile Pod 12 + Twin Linked Flamer 6)
Troops: Fire Warrior (9#, 90 pts)
9 Fire Warrior, 90 pts = 9 * 10
Troops: Fire Warrior (9#, 90 pts)
9 Fire Warrior, 90 pts = 9 * 10
Troops: Kroot Carnivore Squad (11#, 76 pts)
10 Kroot Carnivore Squad, 70 pts = 10 * 7
1 Kroot Hounds, 6 pts
: Aegis Defence Lines (2#, 85 pts)
1 Aegis Defence Lines, 50 pts
1 Gun Emplacement, 35 pts = (base cost 0 + Icarus Lascannon 35)
HQ: Eldrad Ulthran (1#, 210 pts)
1 Eldrad Ulthran (HQ) [EL], 210 pts
Troops: Pathfinders (Rangers) (5#, 120 pts)
5 Pathfinders (Rangers) (Troops) [EL], 120 pts = 5 * 24 (base cost 19 + Pathfinders 5)
Heavy Support: Dark Reapers (5#, 217 pts)
4 Dark Reapers (Heavy) [EL], 140 pts = 4 * 35
1 Dark Reaper Exarch [EL], 77 pts = (base cost 47 + Crack Shot 10 + Fast Shot 20)
My opponent ran the following (he gave me a hand written copy of his list, so hopefully this is accurate):
 2000 Pts - Tyranids Roster
Total Roster Cost: 2000
HQ: Hive Tyrant (1#, 275 pts)
1 Hive Tyrant, 275 pts = (base cost 170 + Stranglethorn Cannon 20 + Hive Commander 25 + Wings 60)
HQ: Hive Tyrant (1#, 250 pts)
1 Hive Tyrant, 250 pts = (base cost 170 + Stranglethorn Cannon 20 + Wings 60)
Elite: Hive Guard Brood (3#, 150 pts)
3 Hive Guard Brood, 150 pts = 3 * 50
Elite: Zoanthrope Brood (3#, 180 pts)
3 Zoanthrope Brood, 180 pts = 3 * 60
Elite: Venomthrope Brood (2#, 110 pts)
2 Venomthrope Brood, 110 pts = 2 * 55
Heavy Support: Mawloc (1#, 170 pts)
1 Mawloc, 170 pts
Heavy Support: Trygon (1#, 200 pts)
1 Trygon, 200 pts
Heavy Support: Biovore Brood (3#, 135 pts)
3 Biovore Brood, 135 pts = 3 * 45
Troops: Tervigon (1#, 175 pts)
1 Tervigon, 175 pts = (base cost 160 + Catalyst 15)
Troops: Termagant Brood (11#, 55 pts)
11 Termagant Brood, 55 pts = 11 * 5
Troops: Hormagaunt Brood (30#, 180 pts)
30 Hormagaunt Brood, 180 pts = 30 * 6
Fast Attack: Gargoyle Brood (20#, 120 pts)
20 Gargoyle Brood, 120 pts = 20 * 6
We rolled Crusade, and dawn of war for mission/deployment. Per league rules we deployed terrain before choosing sides. I find this set up stupid and annoying.. As a great General, I would choose the most advantageous terrain possible on which to engage my enemy. Instead, you get the table set up, then have to hope to win the roll off to choose sides so you don't get stuck with a lousy deployment zone. The fact that fortifications go down after terrain/on top of terrain would be enough to rectify the one issue people have with choosing table sides, and that is the ability to block your gun emplacement by placing a total LOS blocking piece of terrain in front of it.. As it was, I set up assuming I'd get the side of the table I was standing on, but instead he won the roll off and I got stuck on the side with almost no terrain.. In the end, that may have been to my advantage.. but I'd have done just as well having some cover saves at times.
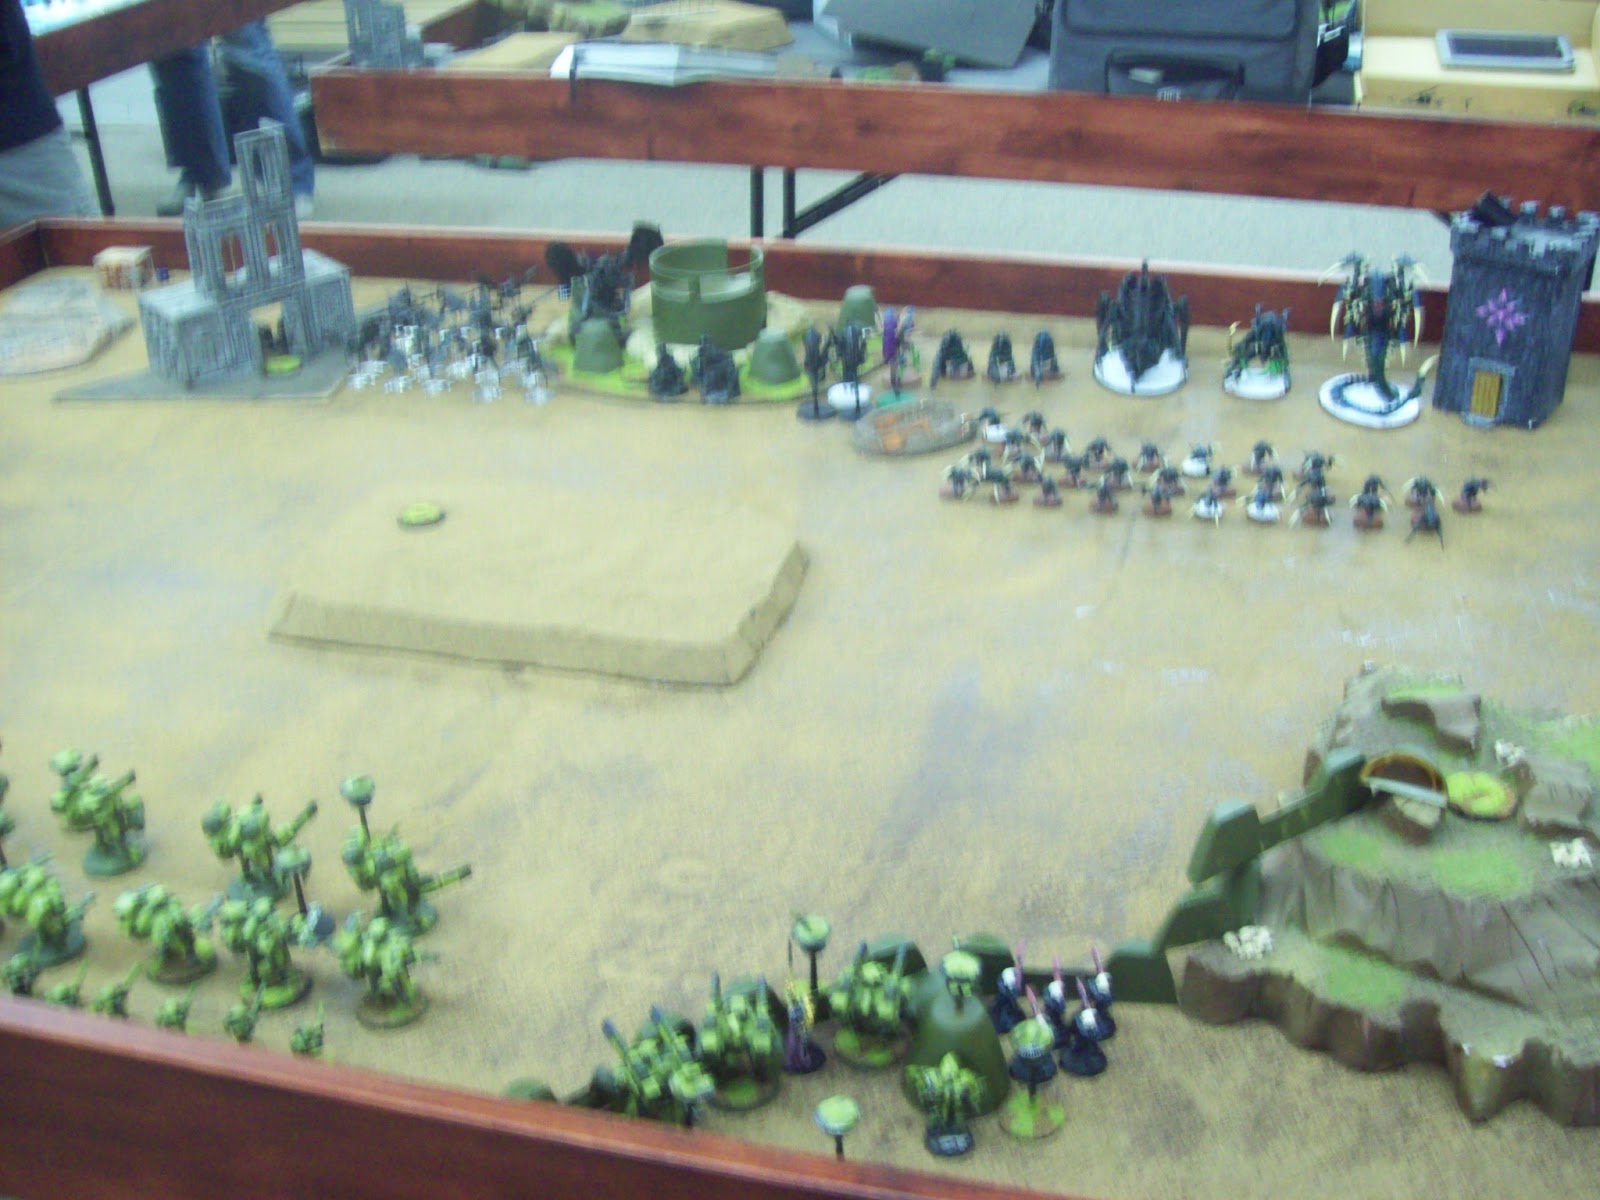
Anyway, he won the roll off to place terrain, so he also placed objectives first.. We then rolled off to choose sides/go first, which he also won. I failed to seize, and our deployments looked like this.
 Turn 1 top: He flew both flyrants out ahead of his main forces in swoop mode.. I'm not 100% sure that was legal, as they deployed on the board, and it says they have to be in gliding mode to do so.. But perhaps that only means that if I seize I get to shoot at them as gliding until he goes and can change movement to swooping in his movement phase.. No matter, they both flew in, tried to use psychic powers but due to Eldrads runes of warding both suffered a perils and took a wound. His non warlord flyrant fired the stranglethorn cannon at my eldar pathfinders which went to ground and suffered one casualty. His warlord fired the stranglethorn cannon at my Dark reapers who fared less well, and suffered 3 casualties.. I don't recall if he killed anything else, but he then ran most of his other units forward, or moved towards objectives.
 Turn 1 bottom: I moved my crisis teams out from behind the broadside wall. Eldrad cast hallucination on the hormagaunts, and got a 5 on the chart.. They managed to kill 12 members of their squad as a result. I managed to generate hits on both flyrants both of which failed either their first or second grounding tests and where then killed off by combined fire. First Blood, and slay the warlord to me. I threw some shots at other units but didn't accomplish a lot. I thrust moved my two crisis teams around to block his line of attack into my pathfinders from the gargoyles, and to get the others in line of the hormagaunts to take their charge if need be.
 Turn 2 top: The Mawlock showed up from reserve and killed two broadsides. He moved forward with most of his units during movement. I failed to hit with my interceptor fire (two shots from an Icarus thanks to the Dark Reaper Exarchs fast shot, rolled two ones anyway).. He shot some more landing a barrage from the biovores but mostly failed to get wounds past my armor. He attempted an assault on my crisis team with the gargoyles, but after taking 9 wounds from my flamers, he rolled snake eyes for distance and failed to reach them.
  Turn 2 bottom: My kroot came in on the left flank. I moved my crisis teams up and positioned them for flamer attacks on the gargoyles and the hormagaunts. Moved my firewarriors some then activated Eldrad, and used Halucination on the hormagaunts. I rolled a 3 on the chart, which meant they couldn't run, shoot, charge, or strike blows in close combat for a turn.. We mistook that to mean they couldn't move either which blocked his tervigon and and trygon from advancing on his following turn. That being the case, I retargeted my crisis team from the hormagaunts to the zoenthropes as I didn't want to create a gap for the MC's.. By the end of my turn I had wiped out the gargoyles, the Zoenthropes, the Venomthropes, one Biovore, the kroot killed a few termagaunts by focusing fire to 5+ cover saves denying the cover for the ruins to the unit, and put 3 wounds on the Trygon all in shooting. I consolidated the Crisis teams in behind the center hill for a touch of cover.

 Turn 3 top: He moved his MC's toward the center of the board to go around the Hormagaunts. Move the biovores back a bit, did some shooting then wiped out a crisis team in assault (there was one model left that got swept after rolling a lousy initiative roll).. He consolidated towards the center objective:
Turn 3 Bottom: My Camera Batteries died, so I got to test out my new phones camera.. I moved some troops, Eldrad got a 3 on the hallucination table on the hormagaunts, I killed off the biovores, the Tervigon and the Trygon as well as one Hive Guard. The Kroot moved up and killed a few more termagaunts. With all the Synapse creatures dead, the hive guard failed their leadership and fell back.

Turn 4 bottom: Not alot happened. Moved troops towards objectives, the kroot killed some more termagaunts, I combined fire to kill off more hormaguants,


Turn 5 top: He moved the hormagaunts up the hill to claim/contest that objective. He moved the remaining Hive Guard into the area terrain, and the Termagaunts in the left ruin fired on the Kroot killing a couple.
Turn 5 bottom: This would be the last turn. The crisis team finished the nearby gaunts clearing that objective. The broadsides fired on the hive guard killing it, and the other teams fired at the Hormagaunts leaving two remaining. Shadowsun only generated 1 wound leaving one Hormagaunt alive on the hill. The kroot assaulted the termagaunts in the ruin killing them and claiming that objective. I was in such a hurry to wrap up the game I forgot to run my firewarriors so I'm not sure I actually had the objective in my spawn area on the hill, but I had 2 of 3 others, and in the end the gaunt on the hill was the only model he had left on the board.


The final score had the tau with all 3 secondarys for 3, plus 2 maybe 3 objectives for 9 or 12 points, and the Tyranids had 1 secondary with line breaker for 1. A solid win for the Tau.
Closing thoughts: After playing 3 games with Eldar Allies, I have to say my initial hesitation about taking allies has disappeared. The tau were desperately lacking psychic defense, and AA capabilities. The Eldar fix that issue nicely even though both codecies lack any fliers or any units with skyfire. Contrary to what some people have opined, I think the new rules in 6th make the game a lot more fun for everyone, and give players whose codex's haven't been updated since 4th edition the chance to still be slightly competative, which in turn should mean a better game for all involved..


