Showing posts with label 2000 point farsight list. Show all posts

Wednesday, January 23, 2013

Tau vs Guard 1500 League Rematch

P.S.  This is the BOMB!

Farsight Drops
the Bomb!

Tonight I had the opportunity to replay one of my 2 1500 pt league matches after a rules snafu by my opponent had invalidated the original result.  We both ran the same lists per the league rules, and convienantly, we rolled the same mission (the relic) and deployment (Vanguard Strike) as we had played in the first game.

IGWarlord won the rolloff to deploy terrain first (per league rules, all terrain is placed, then there is a roll off to choose sides/deploy first, at which time fortifications can be placed).  The terrain was laid out with me ensuring that no corner of the board had total LOS blocking terrain in it for him to hide his two Colossus Artillery tanks in.  Once the terrain was placed, we rolled off and I won the chance to deploy/choose sides first.  Given that one corner had almost no terrain in it, I did the obligatory douchebag thing and stuck him with that corner, and I took the other (hey, he was the one that put the two pieces of lousy terrain in that corner in the first place..)  We also rolled for night fighting on turn one.

I deployed my troops, consisting of the following:

Total Roster Cost: 1496

HQ: Commander Shas'o (3#, 218 pts)
   1 Commander Shas'o, 188 pts = (base cost 75 + Airbursting Fragmentation Projector 20 + Cyclic Ion Blaster 15 + Ejection System 15 + Hard-wired Blacksun Filter 3 + Hard-wired Multi-tracker 5 + Hard-wired Target Lock 5 + Iridium Armour 20 + Stimulant Injector 10 + Shield Generator 20)
      1 Shield Drone, 15 pts
      1 Shield Drone, 15 pts

HQ: Commander Farsight (10#, 661 pts)
   1 Commander Farsight, 170 pts
      1 Crisis Bodyguard, 59 pts = (base cost 35 + Burst Cannon 8 + Hard-wired Multi-tracker 5 + Hard-wired Target Lock 5 + Twin Linked Flamer 6)
         1 Shield Drone, 15 pts
         1 Shield Drone, 15 pts
      1 Crisis Bodyguard, 75 pts = (base cost 35 + Hard-wired Multi-tracker 5 + Hard-wired Target Lock 5 + Missile Pod 12 + Twin Linked Fusion Blaster 18)
      1 Crisis Bodyguard, 59 pts = (base cost 35 + Burst Cannon 8 + Hard-wired Multi-tracker 5 + Hard-wired Target Lock 5 + Twin Linked Flamer 6)
      1 Crisis Bodyguard, 75 pts = (base cost 35 + Hard-wired Multi-tracker 5 + Hard-wired Target Lock 5 + Missile Pod 12 + Twin Linked Fusion Blaster 18)
      1 Crisis Bodyguard, 59 pts = (base cost 35 + Burst Cannon 8 + Hard-wired Multi-tracker 5 + Hard-wired Target Lock 5 + Twin Linked Flamer 6)
      1 Crisis Bodyguard, 59 pts = (base cost 35 + Burst Cannon 8 + Hard-wired Multi-tracker 5 + Hard-wired Target Lock 5 + Twin Linked Flamer 6)
      1 Crisis Bodyguard, 75 pts = (base cost 35 + Hard-wired Multi-tracker 5 + Hard-wired Target Lock 5 + Missile Pod 12 + Twin Linked Fusion Blaster 18)

Fast Attack: Pathfinder (7#, 143 pts)
   4 Pathfinder, 48 pts = 4 * 12
      1 Devilfish, 95 pts = (base cost 80 + Disruption Pod 5 + Multi-Tracker 10)

Troops: Fire Warrior (9#, 155 pts)
   6 Fire Warrior, 60 pts = 6 * 10
      1 Devilfish, 95 pts = (base cost 80 + Disruption Pod 5 + Multi-Tracker 10)

Troops: Fire Warrior (6#, 60 pts)
   6 Fire Warrior, 60 pts = 6 * 10

Elite: Crisis Shas'vre (1#, 71 pts)
   1 Crisis Shas'vre, 71 pts = (base cost 25 + Hard-wired Blacksun Filter 3 + Twin Linked Missile Pod 18 + Positional Relay 15 + Team Leader 5 + Shas'vre Upgrade 5)

Heavy Support: Broadside Battlesuit (3#, 188 pts)
   1 Broadside Battlesuit, 93 pts = (base cost 70 + Hard-wired Blacksun Filter 3 + Hard-wired Target Lock 5 + Targeting Array 10 + Team Leader 5)
      1 Broadside Battlesuit, 80 pts = (base cost 70 + Targeting Array 10)
      1 Shield Drone, 15 pts

IG Warlord mid deployment.


I placed the 2 devilfish, a firewarrior team, the broadsides, and the monat crisis suit on the board as pictured (the crisis suit was in the building under the broadsides).  I reserved the pathfinders, firewarriors, and attached the shas'o to Farsights team deepstriking.

My opponent deployed his forces consisting of something like:

1500 Pts - Imperial Guard Roster - IG 1500 1750?

Total Roster Cost: 1765

HQ: Company Command Squad (5#, 210 pts)
   2 Company Command Squad, 64 pts = 2 * 6 (base cost 6) + Camo Cloak 20 + Carapace Armour 20 + Flamer x1 5 + Grenade Launcher x1 5 + w/Lascannon 32
      1 Veteran Heavy Weapon Team, 30 pts = (base cost 10 + Lascannon 20)
      1 Lord Castellan Creed, 116 pts

HQ: Company Command Squad (6#, 165 pts)
   4 Company Command Squad, 84 pts = 4 * 6 (base cost 6) + Plasma gun x4 60
      1 Company Commander, 26 pts
      1 Chimera, 55 pts

Troops: Infantry Platoon (36#, 260 pts)
   1 Infantry Platoon, 0 pts
      2 Platoon Command Squad, 14 pts = 2 * 6 (base cost 6) + w/Missile Launcher 27
         1 Heavy Weapons Team, 25 pts = (base cost 10 + Missile Launcher 15)
         1 Platoon Commander, 6 pts
      7 Infantry Squad, 35 pts = 7 * 5
         1 Heavy Weapons Team, 20 pts = (base cost 10 + Autocannon 10)
         1 Commissar, 35 pts
         1 Sergeant, 5 pts
      7 Infantry Squad, 35 pts = 7 * 5
         1 Heavy Weapons Team, 20 pts = (base cost 10 + Autocannon 10)
         1 Sergeant, 5 pts
      7 Infantry Squad, 35 pts = 7 * 5
         1 Heavy Weapons Team, 20 pts = (base cost 10 + Autocannon 10)
         1 Sergeant, 5 pts

Troops: Veteran Squad (10#, 120 pts)
   9 Veteran Squad, 113 pts = 9 * 7 (base cost 7) + Meltagun x2 20 + Grenadiers 30
      1 Veteran Sergeant, 7 pts

Troops: Veteran Squad (10#, 120 pts)
   9 Veteran Squad, 113 pts = 9 * 7 (base cost 7) + Meltagun x2 20 + Grenadiers 30
      1 Veteran Sergeant, 7 pts

Heavy Support: Leman Russ Squadron (1#, 220 pts)
   1 Leman Russ Squadron, 0 pts
      1 Leman Russ Exterminator, 170 pts = (base cost 150 + Heavy Bolter Sponsons x2 20)
         1 Knight Commander Pask, 50 pts

Heavy Support: Ordnance Battery (1#, 140 pts)
   1 Ordnance Battery, 0 pts
      1 Colossus, 140 pts

Heavy Support: Ordnance Battery (1#, 140 pts)
   1 Ordnance Battery, 0 pts
      1 Colossus, 140 pts

Fast Attack: Vendetta Gunship Squadron (1#, 140 pts)
   1 Vendetta Gunship Squadron, 0 pts
      1 Vendetta, 140 pts = (base cost 130) + Heavy Bolter Sponsons x2 10

Fast Attack: Vendetta Gunship Squadron (1#, 140 pts)
   1 Vendetta Gunship Squadron, 0 pts
      1 Vendetta, 140 pts = (base cost 130) + Heavy Bolter Sponsons x2 10

: Imperial Bastion (2#, 110 pts)
   1 Imperial Bastion, 75 pts
      1 Gun Emplacement, 35 pts = (base cost 0 + Icarus Lascannon 35)
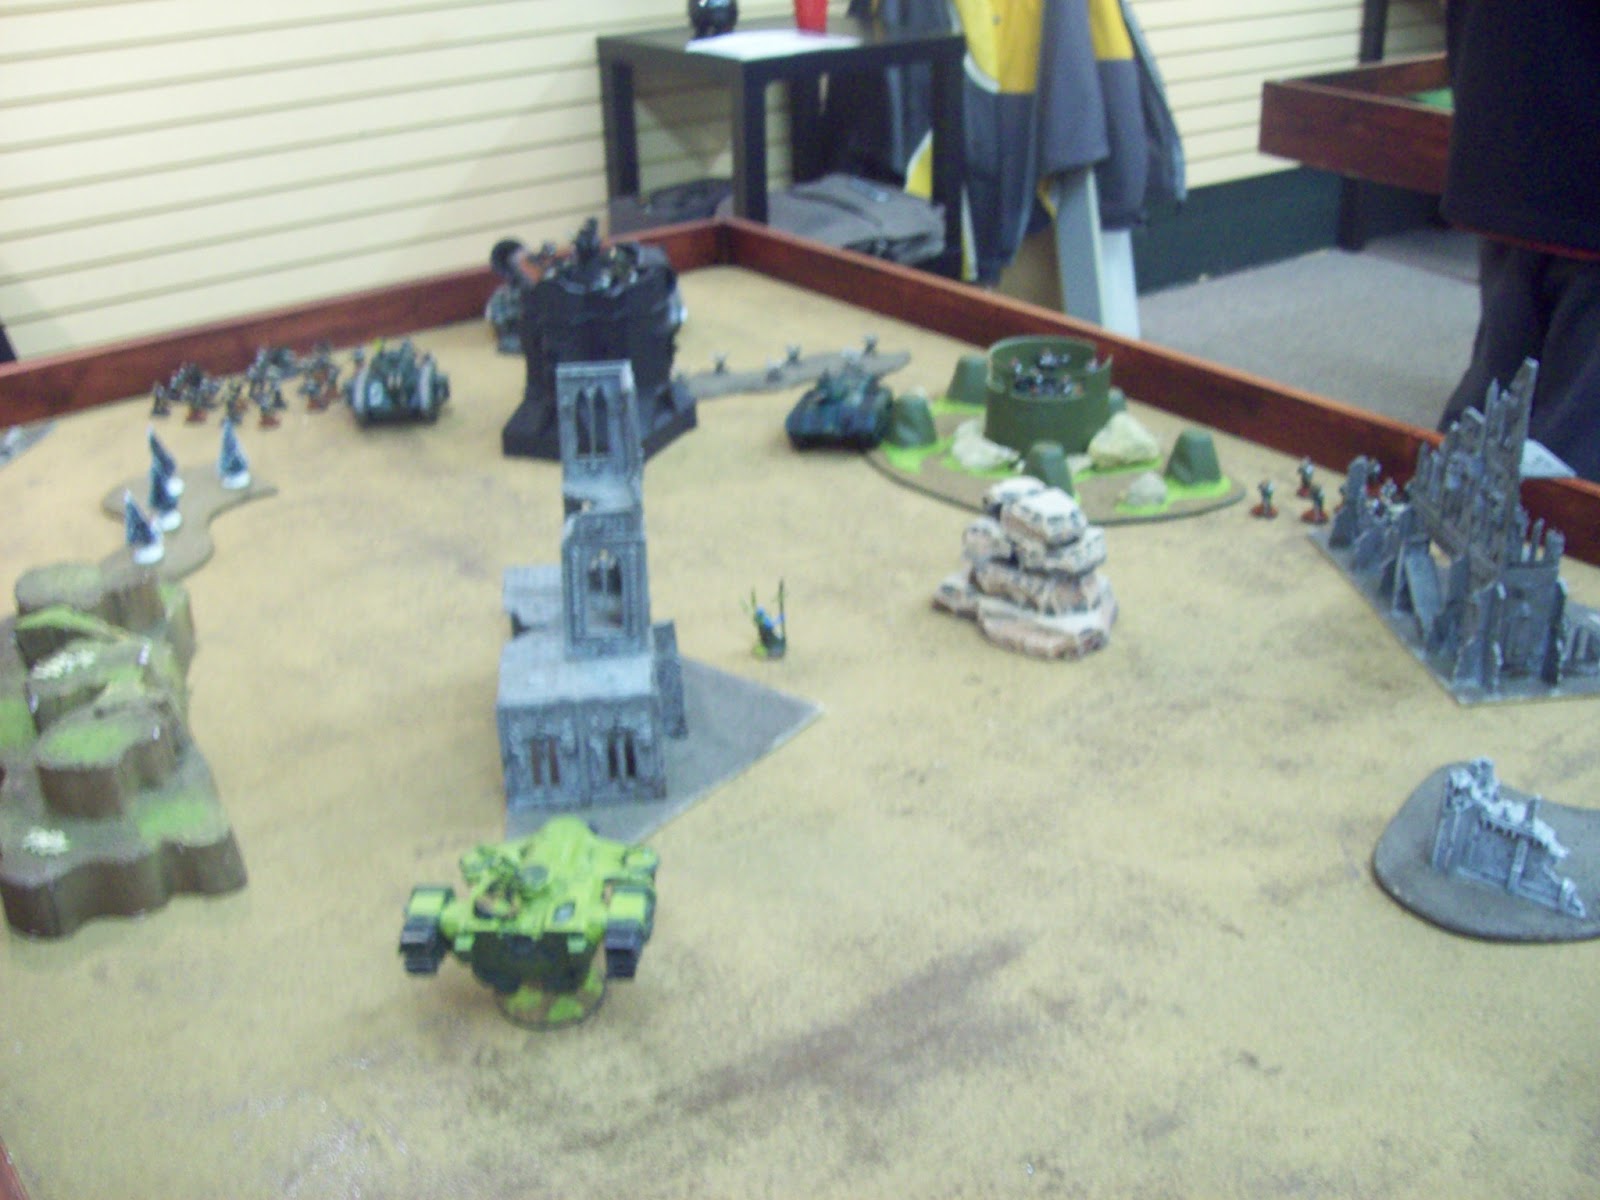

Looking back at the pictures, I'm pretty sure that his list included all of the above at least (Edit 1: any reference to a mystery squad later is because I hadn't realized I could add an extra squad to the guard in army builder, I went back and added them into this list so hey are there now, but weren't when I did the write up.  Edit 2: I also recalled his commenting he'd forgot his vetrans had carapace which is a 30pt times 2 squad upgrade bumping the points overrun up further).. I'm not sure how that's possible as the list above is 200+ points over the 1500 limit, and I may have skipped some special wpns/wargear even then..  I'll see if I can get him to comment with his actual list..  But assigning the units above to the units in the picture, I'm a bit confused.

So army lists aside, he failed to seize the initiative so I went first.

IGwarlord moving bottom turn 1
Turn 1:  I moved my devilfish around, my broadsides split fire on the bastion and a colassus.  Failed to pen the bastion, exploded the collassus (first blood to me)


He moved his blob squad, and the mystery squad that isn't listed above toward the ruin that was just outside his deployment zone.  He then ordered the blob to "move move move" and they did, his weapons fire was inefective due to night fighting giving my devilfish 2+ cover saves.


Turn 2:  All my reserves came on.  Firewarriors embarked in the pathfinder fish, pathfinders hid in the far corner behind a ruil, farsight bomb missed the initial deepstrike roll, but re-rolling due to the pathfinder fish they scattered 2" into an ideal landing zone.  I moved the devil fish around a bit, then went on to shooting.  Farsight's team split fire with 4 twin linked flamers causing 19 hits/17 wounds plus a couple more from burst cannons on the blob squad reducing it too 1 model remaining, Farsight and a twin linked fusion/MP suit took 2 hull points off the Leman Russ and imobilized it.  A fusion suit target the bastion and destroyed a gun emplacement.  Shas'O dropped a barrage shot onto the battlements killing the lascannon team, 1 guardsman and put 1 wound on the Warlord.  The other Fusion suit exploded the remaining Colossus.
The Bomb.
After the bomb.


He got 1 out of 2 vendetta out of reserves on his turn 2.  He managed to imobilize his second HQ's chimera and further shifted part of mystery squad into the ruins second floor.  The vendetta killed a shield drone and 1 broadside but the remaining one made it's moral.  Warlords squad killed a drone and a suit that controlled 2 other drones, causing a moral check which I passed.


Turn 3:   I moved up 2 dfish to the Relic (my ethereal), one went flat out, the other went 6 and deployed 6 firewarriors into contact with the relic.  Monat suit moved up towards center board, and farsight's team spread out a bit to fire at the single guardsman, the tank, the bastion the chimera, and the platoon command squad in the green ruin.  The tank died, the icarus and a heavy bolter were destroyed in the bastion, the chimera lived, but the missle team and 2 other models died in the green ruin from the Shas'o's AFP+Cyclic Ion shots.

His other vendetta came on, and he dropped off a vet squad near the broadside.  He also moved is warlords remaing squad inside the bastion.  His vendetta exploded the flat-out DFish killing 2 guys inside, and one from the team with the relic. but not much else happend.


Turn 4:  I circled around the bastion to put shots into it, the chimera and the remaining guys in the green ruin area.  I moved my firewarriors into the ruin and the other team onto the ruins base.  The DFish I moved back to get a rear arc shot on a vendetta, but instead chose to flat out, and imobilized myself on a piece of terrain.  I destroyed the Bunker, killing everyone inside (after another rules snafu where my opponent read the book and declared that it said one thing, but a bystander later in the turn read the same section to discover it said something entirely different and that you take 2d6 str 6 wounds, not each model takes a 2D6 str wound when you get a 6 on the chart.  Big diff when you only have 2 models remaining).  I missed the dudes by the green ruin again.

He moved a vendetta over to attack Farsight, moved the other over the ruins my firewarriors were in and dropped more veterans..  He moved his first vets over to fire on the remaining devil fish.  He killed two TLFL/BC suits with one vendetta, and his vets killed 3 out of 4 firewarriors in one squad and 1 inside the ruin from a flamer hit.

Mid 4th turn move.
End of top of 5 shooting.


Turn 5:  I moved farsights team around, moved the firewarrirs out with the relic to shoot at the guardsmen, detached the drones from my fish and advanced towards his deployment zone.  Farsights team got a lucky hit with a fusion blaster and exploded a vendetta, the Shas'O dropped his AFP shot on the vets and along with firewarrior shooting they were reduced to 4 models and failed their moral falling back.
Alas, I forgot to take pictures after this.  Bottom of Turn 5 movement phase.

Bottom of turn 5 he put his remaining vendetta into hover and moved over to fire on my firewarriors.  Somehow his 4 vets, regrouped and managed to move 6 inches (or far enough to get past the base of the ruin, and they, the other vets,  and the vendetta killed all but 2 firewarrios in the squad with the relic.  They then assaulted and wiped out the firewarriors consolidating onto the relic.  The mystery squad killed my two drones, and the 3 models in the vicinity of the green ruin shot ineffectually at Farsights team.

We rolled for turn 6 but the game ended.  I had scored first blood, slay the warlord, and had linebreaker.  He was a couple inches from linebreaker with the vets that dropped near the broadside, but in the end had no secondary points.  As he did not get into base with the relic in the move phase, he could not claim it and so I won 3 points to none.

Thanks for taking the time to read my post, I try to get a game in weekly if not 2.. I'm trying to be better about making reports and keeping the blog lively, so check back often.

Saturday, June 23, 2012

Tau versus Tau 2000 pts

 I was invited to play a 2000pt game versus Dan, another Tau player from Cobblestone games at the Battle Barns final evening of gaming (a sad day indeed, the battle barn is no more).  I gladly accepted and set about devising a way to beat the Tau, as the Tau. 

The Pregame planning: 


Given my notoriously bad dice, I decided that if we both brought standard Tau lists, and it came down to a long range shooting match/dice fest that I would surely lose.  I needed something nonconventional.  I also couldn't think of a reason for Tau to fight Tau (acting like a bunch of humans) unless one of the teams was a Farsight enclave.  Since Farsight lists are universally considered to be uncompetitive,  I didn't expect Dan to bring one, and since I've played a few games with Farsight lists lately I decided that Farsight would be my solution.

After waffling with some standard style lists with pathfinders, broadsid team, multiple crisis suit teams etc.. I realized that almost every game I've played lately has been determined by kill points.  Each list I made contained no fewer than 13 kill points.  Inspired by Eric's excellent Eldar Jetbike list that has minimal kill points, I decided that minimizing kill points would be the second component to making my Farsight list competitive against a standard Tau list. I stripped out everything I could, took my 4 mandatory unit choices (Farsight, Crisis Suit Team, Two Firewarrior squads) then after waffling back and forth about a squadron of 4 piranha, settled on a Broadside team, and an IonHead.

Conceptually, I planned to split the Farsight Team into 2 groups, 4 suits with Fusion Blasters would either split fire and target vehicles, broadsides, or nearby Crisis teams (causing instant death for any wound applied to a broadside or a suit), while Farsight and the 3 fireknives would focus on mid range targets starting with Crisis and Stealth Suits.  If any crisis team was in assault range, I'd declare them to be the squads target before splitting fire, and minimizing my shooting at them so they'd still be around to assault and hopefully keep me from being shot during his turn (this never happened).

My final list contained 6 SIX Killpoints at 2000 points, and looked something like this (please excuse extra notation in unit entries, it was intended to help remember who had what) :

2000 Pts - Tau Empire Roster - Tau 2000pts Farsight of DOOM!

Total Roster Cost: 2000


HQ Farsight Bomb - Fire Both Wpns!!! (16#, 982 pts) (CBg = Crisis Bodyguard)
   1 Cmdr Farsight PR DawnBlade SG HWTL, 170 pts
   1 CBg FB MP SG BsF - ForgeFire, 92 pts = (base cost 35 + Fusion Blaster 12 + Hard-wired Blacksun Filter 3 + Hard-wired Multi-tracker 5 + Hard-wired Target Lock 5 + Missile Pod 12 + Shield Generator 20)
         1 Shield Drone, 15 pts
   1 CBg FB MP SG - ForgeFire, 89 pts = (base cost 35 + Fusion Blaster 12 + Hard-wired Multi-tracker 5 + Hard-wired Target Lock 5 + Missile Pod 12 + Shield Generator 20)
         1 Shield Drone, 15 pts
   1 CBg PR MP SG - FireKnife, 97 pts = (base cost 35 + Hard-wired Multi-tracker 5 + Hard-wired Target Lock 5 + Missile Pod 12 + Plasma Rifle 20 + Shield Generator 20)
         1 Shield Drone, 15 pts
   1 CBg PR MP SG BsF - FireKnife, 100 pts = (base cost 35 + Hard-wired Blacksun Filter 3 + Hard-wired Multi-tracker 5 + Hard-wired Target Lock 5 + Missile Pod 12 + Plasma Rifle 20 + Shield Generator 20)
         1 Shield Drone, 15 pts
   1 CBg TLFB SG - Sunforge , 83 pts = (base cost 35 + Hard-wired Multi-tracker 5 + Hard-wired Target Lock 5 + Twin Linked Fusion Blaster 18 + Shield Generator 20)
         1 Shield Drone, 15 pts
1 CBg PR MP SG - FireKnife, 127 pts = (base cost 35 + Hard-wired Multi-tracker 5 + Hard-wired Target Lock 5 + Iridium Armour 20 + Stimulant Injector 10 + Missile Pod 12 + Plasma Rifle 20 + Shield Generator 20)
         1 Shield Drone, 15 pts
         1 Shield Drone, 15 pts
      1 CBg FB PR SG FSD - ForgeFire, 104 pts = (base cost 35 + Failsafe Detonator 15 + Fusion Blaster 12 + Hard-wired Multi-tracker 5 + Hard-wired Target Lock 5 + Missile Pod 12 + Shield Generator 20)
         1 Shield Drone, 15 pts

Elite: Crisis Shas'vre (5#, 202 pts)
   1 Crisis Shas'vre, 82 pts = (base cost 25 + Airbursting Fragmentation Projector 20 + Missile Pod 12 + Positional Relay 15 + Team Leader 5 + Shas'vre Upgrade 5)
      1 Shield Drone, 15 pts
      1 Shield Drone, 15 pts
      1 Crisis Battlesuit, 43 pts = (base cost 25 + Missile Pod 12 + Twin Linked Flamer 6)
      1 Crisis Battlesuit, 47 pts = (base cost 25 + Flamer 4 + Twin Linked Missile Pod 18)

Troops: Fire Warrior (12#, 163 pts)
   10 Fire Warrior, 100 pts = 10 * 10
      1 Shas'ui, 33 pts = (base cost 20 + Markerlight 10 + EMP Grenade 3)
         1 Marker Drone, 30 pts

Troops: Fire Warrior (12#, 163 pts)
   10 Fire Warrior, 100 pts = 10 * 10
      1 Shas'ui, 33 pts = (base cost 20 + Markerlight 10 + EMP Grenade 3)
         1 Marker Drone, 30 pts

Heavy Support: Broadside Battlesuit (5#, 325 pts)
   1 Broadside Battlesuit, 105 pts = (base cost 70 + Hard-wired Multi-tracker 5 + Hard-wired Target Lock 5 + Shield Generator 20 + Team Leader 5)
      1 Broadside Battlesuit, 90 pts = (base cost 70 + Shield Generator 20)
      1 Broadside Battlesuit, 100 pts = (base cost 70 + Twin Linked Plasma Rifle 10 + Shield Generator 20)
      1 Shield Drone, 15 pts
      1 Shield Drone, 15 pts

Heavy Support: Hammerhead Gunship (1#, 165 pts)
   1 Hammerhead Gunship, 165 pts = (base cost 90 + Ion Cannon 15 + Two Burst Cannons 10 + Disruption Pod 5 + Multi-Tracker 10 + Seeker Missile x2 20) + Sensor Spines 10 + Target Lock 5


Game Day:

An hour before I should have left, while trying to pre-assemble my suits with appropriate wargear I discovered that none of my shield generators were magnatized, and that 4 or 5 suits were lacking magnets in at least 1 hard-point.  By the time I got it all straightened out I was 25 minutes late getting to the Barn and in a wicked bad mood.  Fortunately Dan my opponent had troubles of his own and ended up being even later than me, so it wasn't an issue anyway.  I'd never met Dan, but it turns out I had seen him playing the one time I'd been out to Cobblestone.

Dan brought a pretty standard Tau list as expected other than having a team of Stealth Suits and no shield drones to speak of.  I don't recall all his wargear choices but it looked something like this:


HQ: 
Shas'O - Fireknife + SG

Shas'El - AFP, Flamer
Bodyguard - TLFB

Elite:
3x Crisis Suit - Fireknives

3x Crisis Suits - (not sure on the loadouts, they had some proxies)

6x Steath Suits with burst cannons (loved this unit, all XV15's)

Troops:

12x Firewarriors (I think it was 3 teams of 12, my photos are too blurry to count)

12x Firewarriors

12x Firewarriors

14x Kroot Carnivors including a shaper

Fast:

8x Pathfinders + Devilfish gun drone + Dpod

Heavy Support:

2x Broadside Suits with SMS

2x Broadside Suits with SMS

Hammer Head Gunship with Railgun and 2 burst cannons, DPod.

The Game:

Dan rolled the dice for missions and deployment.  We got Annihilation as the primary with Seize Ground and 3 objectives as a secondary, with Dawn of War as the Deployment.

I won the roll to place objectives first, and placed my objective in the open on Dans side of the board, he placed his objective on my side, diagonally opposite of mine and with a Bastion in the center of the table blocking LOS from one to the other.  I placed the last objective on Dans side as well, mirroring the placement of his placement.  The plan was to give him a reason to stay on his side of the board, and to draw him out into the open with his troops if possible.

Deployment:

We rolled to deploy first and I won, I chose my side of the table as I already had my army out of the bag near this side, and because I'd placed objectives with this side in mind.  Since it was Dawn of War, I got to place up to 1  HQ and 2 troops.  Normally I don't deploy anything on the board in Dawn of War, but normally I don't go first, and I don't usually have markerlights (heavy wpns) in my firewarrior teams.  However since I was running Farsight, it was an easy call to Place him on the board running across the center to force Dan into the 6" along his board edge.  For some reason I placed my HQ ringing around the Bastion instead of just placing some suits on it, this would hurt me later.  Then I placed the firewarriors (whom I usually reserve) so I'd have access to my markerlights from round 1.  I put them  in terrain in either corner, with one team stretched out to the center line to increase the area of denial for his deployment.  Everything else would walk on on turn 1.

Dan apparently hadn't played a Dawn of War mission in some time and initially deployed the majority of his army on the board.  After some clarification on what was allowed to deploy, he settled with placing his firewarriors in either corner, in or behind terrain, and a monat HQ also behind the hill to my right.  He reserved the Shas'el team, the proxied crisis team both deepstriking, and outflanked his Kroot.

After deployment Dan rolled to sieze the initiative and succeeded.  This made me cringe a bit, but I was confident that between the nightfighting rules, and the size of my HQ that it wouldn't hurt me to much.

Game Summary:

I was going to write a play by play on the game, but here it is 2 days later and I can't recall all the specifics, and my phone failed to take almost any worth while images.  So instead of rambling on and guessing at what happened here are a few pictures, and a summary of  the end of the game.

My HQ wiped out a broadside team, the fireknives, the proxy crisis team, 2 firewarrior teams, and put some hits on the Shas'el team.  In the end, my HQ was almost wiped out but Farsight managed to hold on as an IC taking cover behind the Ionhead.  The Ionhead killed 1 of the Proxy suits, finished off the Shas'el, and killed a few firewarroirs and 3 stealth suits.  My firewarriors on the left were wiped out by Kroot outflanking except for my Shas'ui and the markerdrone which were escorted of the board by the kroot consolidating near them.  My broadside team blew the railgun off his Hammerhead, killed his pathfinder devilfish and killed his Shas'O on turn 5.  My crisis team failed to have any effect and got wiped out my massed fire from his whole army on my right side.  My firewarriors to the right were also wiped out all but one firewarrior who failed leadership and fell off the board.  His pathfinders worked far better than mine providing him with alot of markerlight hits through out the game.  My getto pathfinder/firewarrior team managed to call in the 2 seeker missles with their markerlights, both of which failed to have any effect.

In the end, neither of us controlled any objectives markers, so no points there, and I had 3 out of 6 kill points still on the board, while he had lost 8 kill points.  My plan to minimize kill points in my list paid off, and I won the game.

And here are the least lousy of the bad pictures I remembered to take:

After Dan's army arrives top of turn 1

Same timing as above

Looks like the end of the bottom of turn 2.


End of Top of 3, Dans Kroot, Shas'EL and Proxie Crisis team arrived.


End of Top of 4.  Dan's Sunforge "tripped" after failing to even glance my IonHead at 1" Range.

End of Bottom of 4.  Dans' Shas'el falls back from shooting but I can't get within 6".

Other Side bottom of 4. Broadsides fail to do much.


End of game?  THought I'd killed that Shas'el, but there he is?  Maybe this was after top of 5?  Not sure.